How to Choose Replacement Exterior Doors
Choosing replacement exterior doors starts with more than color or curb appeal. The right door must fit its opening, suit local weather, and work smoothly every day. A door that sticks after rain is not a small annoyance. It may signal poor fit, moisture damage, or installation problems. Measure the frame carefully, then compare materials, glazing, security features, and maintenance needs.
Energy performance deserves close attention. The U.S. Department of Energy recommends checking a door’s energy rating and ensuring that it is properly weather-stripped and sealed. Look for the National Fenestration Rating Council label, which reports tested performance measures such as U-factor and solar heat gain coefficient. These values help compare products, but they do not guarantee lower bills in every home. Climate, installation quality, and existing insulation all matter. Details matter.
Budget decisions also need reliable context. Remodeling magazine’s 2024 Cost vs. Value report, produced with Zonda, estimated that a steel entry door replacement could recoup about 188% of its cost at resale nationally. That figure is an average, not a promise; local prices and project scope can change the result. Still, it shows why a practical upgrade may appeal to buyers. No single door is perfect. Before choosing, inspect the threshold, hinges, and surrounding trim, and ask a qualified installer how the new unit will be sealed against drafts and water. A beautiful slab cannot fix a damaged frame.
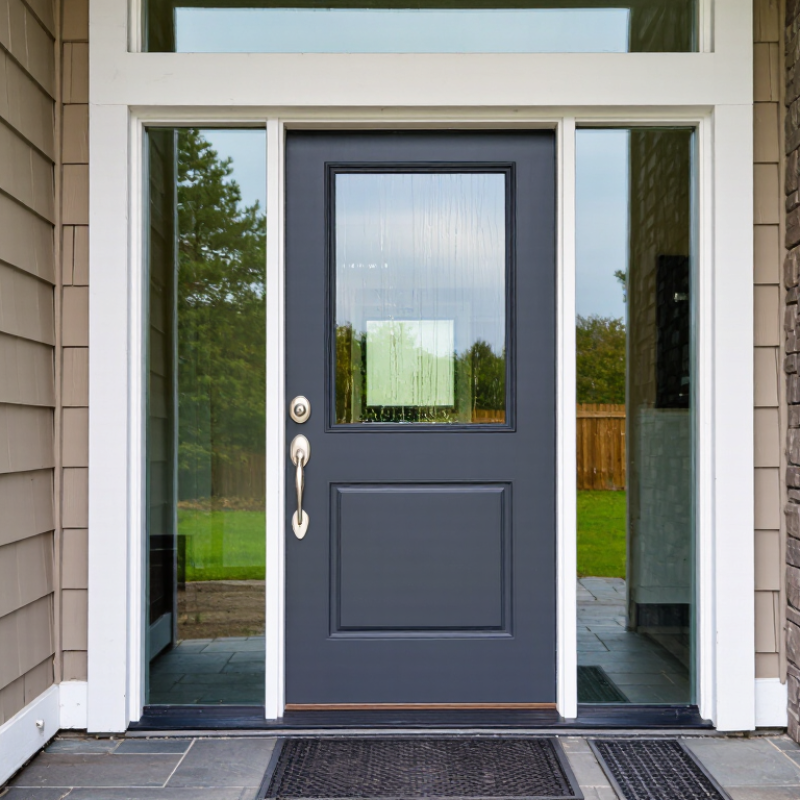
Measure the Existing Door and Confirm Whether a 36 × 80-Inch Unit Fits
How to Choose Replacement Exterior Doors
Measure the existing door before ordering a 36 × 80-inch replacement. The Steel Door Institute’s standard-size guidance lists 3 feet × 6 feet 8 inches as a common nominal steel-door size. Nominal size describes the door slab, not necessarily the framed opening. Measure the slab’s width and height, then record the jamb depth. Check the opening at the top, middle, and bottom; older frames can shift by half an inch or more. A tape measure and a level help reveal those small but costly surprises.
For a prehung unit, measure the rough opening from stud to stud and floor to header, after removing trim where practical. Many 36 × 80-inch prehung doors need an opening around 38 × 82½ inches, but frame designs differ. Confirm the manufacturer’s installation dimensions before purchase. Also note the threshold height, hinge locations, and swing direction. If the floor slopes, measure from the highest point; otherwise, the new door may scrape. I would not assume the old slab’s size proves the opening is square.
Tips: Write down all measurements in inches, and use the smallest width and height. Photograph the hinges and threshold. If measurements disagree, pause and recheck—the opening may need adjustment, not a different-sized door.
How to Choose a Replacement Exterior Door
Measure the existing door and rough opening before ordering. This example compares field measurements with a planning guide for a nominal 36 × 80-inch prehung unit: a 38-inch-wide by 82.5-inch-high rough opening. Actual manufacturer requirements vary, so confirm the specified rough-opening size for the door you choose.
Sample opening readings are shown as a percentage of the planning dimension; 100% equals the guide measurement. The horizontal scale starts at 95% to make small differences visible. Measure width at the top, middle, and bottom, and height at both sides and the center. Check the opening, jamb depth, and door swing against the replacement unit’s specifications.
Compare Fiberglass, Steel, and Wood for Durability, Security, and Upkeep
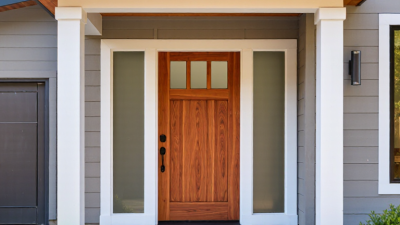
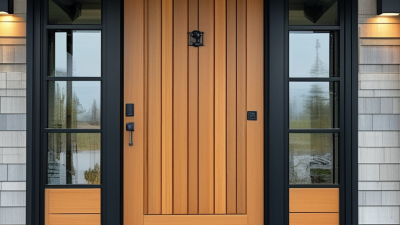
A replacement exterior door must stand up to rain, temperature swings, daily use, and attempted forced entry. Fiberglass resists moisture and often holds its shape through seasonal changes. Textured finishes can resemble painted or stained wood, though deep scratches may be difficult to repair invisibly. Steel is usually strong and provides a sturdy surface, but dents can show, and damaged paint may allow rust to develop. Check the edges. Wood brings natural grain and can be trimmed or refinished, but it needs regular attention. Sun and moisture can cause fading, swelling, or peeling if upkeep slips.
Security depends on more than the door material. A solid slab paired with a weak frame may still be vulnerable, so inspect the jamb, hinges, strike area, and lock fit together. Ask how the door is reinforced and whether installation includes secure anchoring into the wall framing. Fit matters. For upkeep, fiberglass generally needs routine cleaning and occasional finish care; steel needs prompt paint touch-ups; wood benefits from periodic inspection and renewed protective coatings. Consider the exposure at your entry: a sheltered porch is different from a doorway facing driving rain. It is easy to compare showroom samples and overlook that detail. Also check the threshold and weatherstripping; small gaps can invite drafts and water. A material that looks ideal on day one may demand more care than your household can realistically provide.
Check NFRC U-Factor and SHGC Ratings and ENERGY STAR Air-Leakage Limits
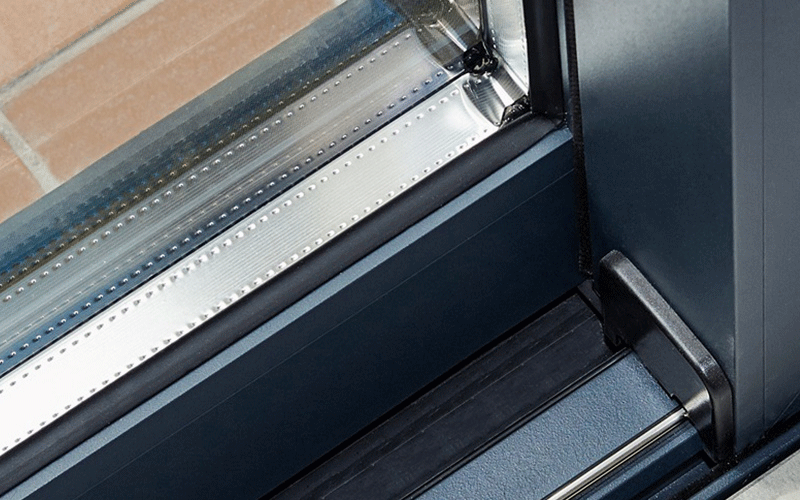
A replacement exterior door can look solid and still waste energy through its glass or frame. Check the NFRC label before comparing prices. Its U-factor estimates heat transfer; a lower number generally means better insulation. SHGC measures how much solar heat passes through glazing. Lower SHGC can help limit summer heat, while a higher rating may suit a cold, sunny entry. Climate and door direction matter. The best number is not always the lowest one.
Tips: Read the whole label. Compare doors of similar size and glazing. Check the listed air-leakage rating and the applicable ENERGY STAR limit; lower leakage means fewer drafts. Small gaps matter.
Ratings describe tested products, not every installed door. A careful installer should seal the frame and check the threshold, where wind-driven rain and cold air often find openings. I once focused too much on glass performance and overlooked the weatherstripping. That was an incomplete comparison. Ask how the door’s stated ratings apply to its exact configuration, including sidelights, and inspect the finished fit on site. A well-rated door can still disappoint if the opening is out of square.
Match the Door’s Performance Grade to Local Wind, Water, and Exposure Risks
A replacement exterior door should be rated for the conditions at your address, not chosen by appearance alone. The 2022 North American Fenestration Standard, published by AAMA, WDMA, and CSA, defines Performance Grade (PG) ratings for tested products. PG reflects structural and water-resistance performance, among other requirements. For example, a PG 30 door is tested against water penetration at 4.5 pounds per square foot under the standard’s test method. That is a lab result, not a promise that every installed door will stay dry.
Check local design pressures before comparing ratings. ASCE 7 maps wind demands by location, while building height, terrain, and exposure can change the pressure a door must withstand. A house facing open shoreline or fields may face stronger gusts and wind-driven rain than a sheltered street. Ask the local building department or a qualified installer what pressure applies to your opening. Read the label closely.
Water needs attention, too. Look for a tested water-resistance rating, then inspect how the sill, flashing, and drainage path will work with your wall. Even a high-rated slab can leak if water pools at the threshold. A higher number feels safer, but choosing one without checking the site can be an expensive guess. I would verify the opening details before paying extra for a rating that may not match the actual exposure.
Sources: AAMA/WDMA/CSA 101/I.S.2/A440-22; ASCE/SEI 7.
Plan Removal, Flashing, and Installation to ASTM E2112 and Manufacturer Specs
Replacing an exterior door is more than matching its size and style. Measure the opening after removing interior trim, and check the frame for rot, swelling, or water stains. Note the wall thickness, threshold height, door swing, and clearance for nearby steps. During removal, protect flooring and siding, then take out fasteners without prying hard against sound trim. Hidden damage can change the plan.
Plan installation around ASTM E2112 and the door manufacturer’s instructions; confirm which details apply to the specific product and wall assembly. Prepare the sill so water can drain outward, and install compatible flashing in shingle fashion, with upper layers overlapping lower ones. Keep drainage paths open. Set the frame plumb, level, and square, then fasten it at the specified locations. Use only compatible sealants and low-expansion foam where permitted. A door can look straight and still bind. Check even margins, latch engagement, and smooth operation before replacing trim. I’ve learned that rushing the flashing is the mistake most likely to cause trouble later.