




Choosing steel entry doors is not a style decision alone. The right door must suit the opening, climate, security needs, and daily traffic. A heavy slab can feel reassuring, but poor sizing or weak installation can undermine its performance. Small details matter.
This guide’s illustrative steel-door specialist, Jordan Lee, offers a practical reminder: “A steel door performs only as well as the frame, hardware, and installation around it.” The quote is written for this guide, not presented as a verified statement from a real industry professional. Use it as a prompt to check the complete entry system, not just the door’s appearance.
The seven tips ahead cover steel gauge, core construction, frame compatibility, finishes, hardware, energy performance, and installation planning. Look closely at the threshold, hinge alignment, and weatherstripping. Picture rain collecting near the sill, or a delivery cart brushing the frame. Those details can reveal needs that a product photo cannot. Compare manufacturer specifications, confirm measurements on site, and ask qualified installers about conditions they can verify. A brochure may not tell the whole story. Even a carefully chosen door can disappoint if its finish, frame, or hardware does not match the project. Start with what the entrance must handle each day. Then choose steel entry doors that meet those demands with clear, documented specifications.

A steel entry door should match the job it needs to do, not just the building’s appearance. Start by measuring the opening, including its width, height, frame depth, and threshold. Note how people use the entrance: a busy shop, a quiet office, and a side service door have different demands. Consider exposure to rain, wind, salt air, or strong afternoon sun. Also check whether the doorway needs glazing, a closer, weather seals, or an accessible threshold. Small details matter.
Tip: Write down the opening size and wall type. List daily traffic, privacy needs, and desired light. Check nearby walls and hardware for clearance. A quick sketch helps. It may be imperfect, but it can reveal problems before ordering.
Then define the performance priorities. A door facing a noisy street may need attention to seals and glazing, while a frequently used entrance may need durable hardware and a finish that is easy to maintain. Ask the installer how the frame will connect to the existing wall; a strong door can still perform poorly if it is fitted badly. Think about future repairs, too. I once focused too much on appearance and overlooked the threshold height. That detail changed the installation plan. Review your requirements with the project team before choosing a door configuration.
Steel entry doors can look similar, yet their construction varies. Compare face thickness by gauge: a lower gauge number means thicker steel. The Steel Door Institute’s ANSI/SDI A250.8 standard sets construction and performance requirements for steel doors, making it a useful reference when comparing specifications. Look beyond the metal skin. Core material, edge design, frame fit, and hinge reinforcement all affect durability. Details matter. A thick face alone does not guarantee a strong, well-sealed entry.
Tip: Compare complete door assemblies, not just slabs. Check the stated insulation value and weather-seal details. The National Fenestration Rating Council rates products using measures such as U-factor, which helps compare heat transfer across rated assemblies. The U.S. Department of Energy estimates that windows account for 25–30% of residential heating and cooling energy use; this is a reminder to consider the whole building envelope, not a direct estimate for doors. Ask for test documentation when figures are unclear.
Tip: Inspect a sample edge and frame corner. Look for continuous welds, secure hardware reinforcement, and an even gap around the door. Also compare corrosion protection, especially near wet thresholds or coastal air. A small caveat: heavier construction can add weight and demand stronger hinges. Thicker is not always better. Match the door’s tested rating and finish to the project’s exposure, then verify installation requirements before ordering.
Thicker steel sheet corresponds to a lower gauge number. Use this chart as a reference when comparing door specifications, and confirm the stated skin thickness, core, frame, and finish with the manufacturer. Actual door construction and gauge conventions can vary.
A steel entry door is only as secure as its frame, hinges, and lock-side reinforcement. I would not judge it by slab thickness alone; that shortcut misses weak jambs and short screws. Ask for test documentation covering the complete door assembly, then check that the deadbolt throws fully into a reinforced strike. Test the latch. At the showroom, inspect the corner seals and threshold: daylight under the door is a warning, not a minor detail.
Insulation and weather resistance depend on fit as much as material. Look for a continuous weatherstrip, a tight adjustable threshold, and a thermal break that limits heat transfer through the frame. Compare whole-unit U-factor ratings using the National Fenestration Rating Council label, not vague “insulated” claims. ENERGY STAR’s home-sealing guidance estimates that air sealing and insulation can reduce heating and cooling costs by about 15%, or roughly 11% of total energy costs. That figure covers broader home improvements, not doors alone. Still, it shows why a small gap deserves attention. For exposed sites, request documented water-penetration and wind-pressure test results suited to local conditions; a beautiful finish can still fail in driving rain.
| Tip | What to Evaluate | Useful Checks and Data | Why It Matters |
|---|---|---|---|
| 1. Check the complete security assembly | Review the door slab, frame, lock, strike plate, hinges, and their connections as one system. | Look for a reinforced lock area and strike, secure hinge attachment, and a frame suited to the wall and installation. A steel skin alone does not establish the security level of the whole door. | Forced-entry resistance depends on the weakest part of the installed assembly, not just the door’s outer material. |
| 2. Compare verified insulation performance | Ask for the tested U-factor for the complete door assembly, including any glazing. | A lower U-factor means less heat transfer. Compare products using the same test basis; published performance varies with door construction, glazing, size, and configuration. | Whole-assembly performance is more useful for energy comparisons than a core-material claim by itself. |
| 3. Inspect the core and thermal details | Check whether the steel skins enclose an insulated core and whether the frame and edges limit thermal bridging. | Many insulated steel doors use a foam core, such as polyurethane or polystyrene. Ask for product-specific test data rather than assuming a particular R-value. | The core can reduce heat flow, while uninsulated edges or frames may still contribute to heat loss. |
| 4. Evaluate air and water control | Review weatherstripping on the head and jambs, the bottom seal, and the threshold fit. | Look for continuous, replaceable seals and a threshold designed to work with the floor and drainage conditions. Where available, compare tested air-leakage and water-penetration results for the complete unit. | Well-fitted seals help limit drafts and moisture entry; installation and adjustment affect real-world results. |
| 5. Match the door to exposure and climate | Consider wind-driven rain, sun, temperature swings, and the amount of sheltered entry space. | Confirm that the door, glazing, frame, and hardware are suitable for the project’s exposure. Check applicable local building requirements for wind, water, and energy performance. | Environmental loads differ by location, so a suitable specification should reflect the site and local code. |
| 6. Assess corrosion protection and finish | Ask about the steel’s protective coating, primer, finish, and care requirements. | Pay particular attention to exposed edges, scratches, cutouts, and hardware openings. Follow the manufacturer’s maintenance guidance and promptly repair damaged coatings. | Steel can corrode when its protective finish is compromised, especially where moisture and salts are present. |
| 7. Verify sizing, glazing, and installation details | Confirm the rough opening, handing, frame depth, threshold height, and any glass configuration before ordering. | Use the product’s installation instructions and verify that the opening is square, level, and properly flashed. If glazing is included, check its published thermal and safety-glazing specifications. | Correct sizing and installation help the door operate properly and preserve the performance claimed for the tested unit. |
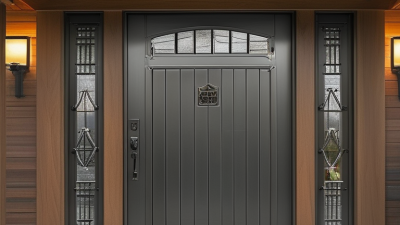
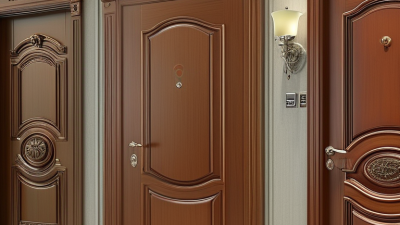
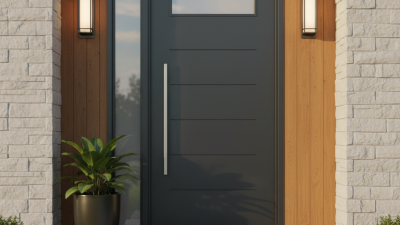
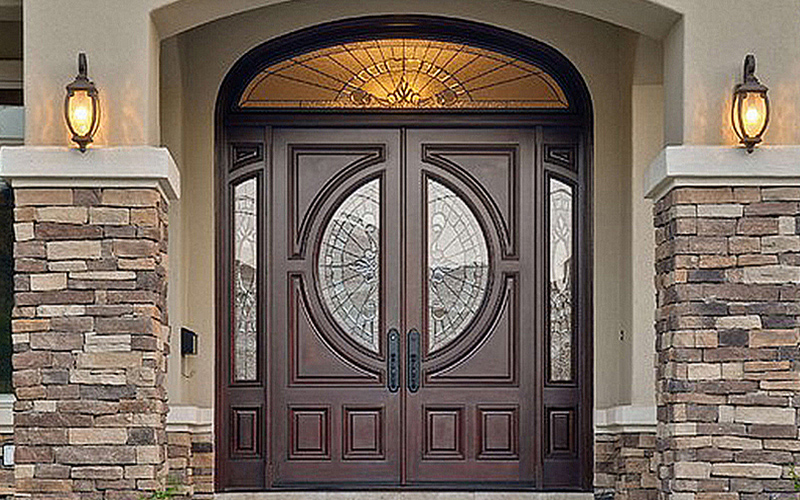
A steel entry door should suit the home’s architecture and the way you use the entrance. A simple, flush design can look right on a modern exterior, while narrow glass panels may complement a traditional facade. Consider how much daylight you want without sacrificing privacy. A small sample can be misleading. View the style against the actual siding and trim before deciding.
Measure the opening at several points, since older frames are not always square. Check the width, height, jamb depth, threshold, and door swing. Measure twice. A heavier steel door needs a compatible frame and hinges, so confirm the complete assembly’s specifications before ordering. On renovation projects, overlooked jamb depth can lead to extra work. It is an easy detail to miss.
Choose a finish suited to the door’s exposure. Direct sun can fade some colors, while rain and coastal air call for durable protective coatings and careful maintenance. Dark finishes may also absorb more heat. Look at color samples outdoors, at different times of day. Ask how to clean the surface and repair small chips. I would not choose a finish from a screen alone; the color can look quite different in natural light.
A steel entry door can look simple on a plan, but installation details shape how it performs. Measure the rough opening, wall depth, and threshold before ordering; older frames are rarely perfectly square. A small mismatch can leave gaps, bind the latch, or complicate weather sealing. Check door swing, clearance, and how the frame will be anchored. Get the opening right.
Maintenance is usually straightforward, but it should not be ignored. Wipe the door with mild soap and water, then check hinges, seals, and the bottom edge a few times each year. Look for chipped paint or scratches, especially near the handle and threshold, where daily use leaves marks. Follow the care guidance for the door’s finish when making repairs. A clogged threshold can trap water.
Compare total cost, not just the door’s listed price. Include the frame, lockset, delivery, removal of the old unit, installation labor, and any trim or finishing work. Ask contractors to state what their estimates include; otherwise, low quotes may omit essential steps. A spreadsheet helps, but it can miss inconvenience, such as arranging access while the entry is being replaced. Allow a modest buffer for surprises, particularly in older homes.